
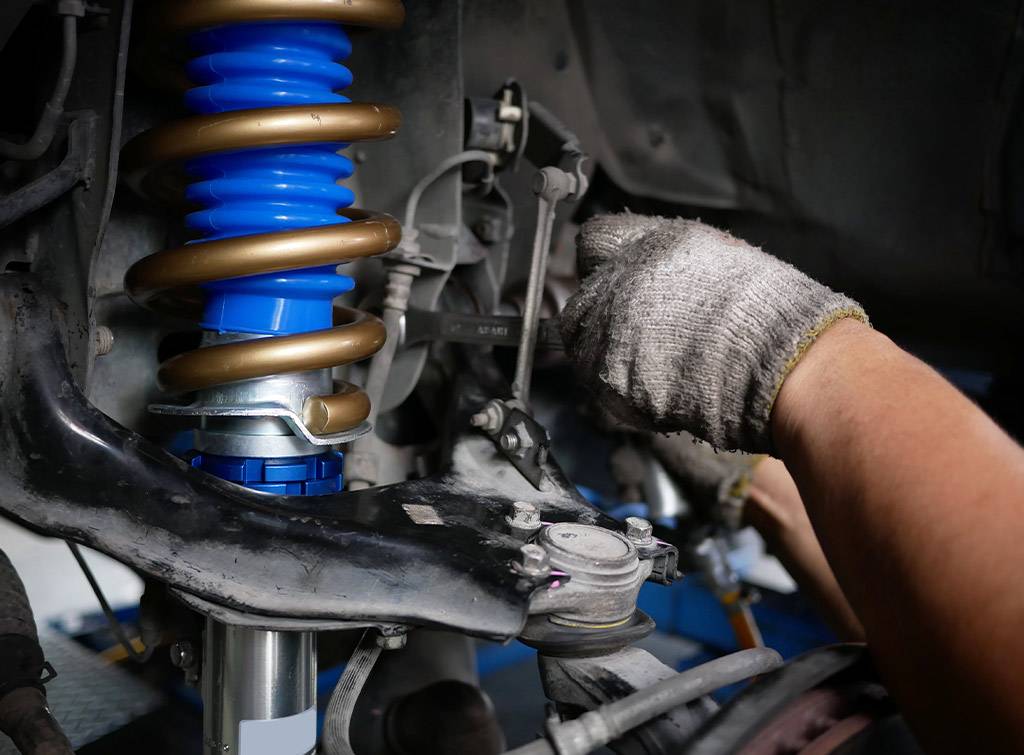
Learning how to replace coil springs at home can save you hundreds of dollars in repair costs. Many vehicle owners in the United States are now choosing DIY suspension repair to reduce expenses and gain better control over maintenance.
However, understanding how to replace coil springs properly is crucial because suspension components are under high tension and can be dangerous if handled incorrectly. This guide will walk you through the process safely and efficiently.
Why Replace Coil Springs?
Coil springs wear out over time due to constant pressure, road conditions, and load. If you notice suspension problems, it may be time to learn how to replace coil springs yourself.
Common reasons include:
- Sagging suspension
- Uneven ride height
- Excessive bouncing
- Poor handling
To identify issues early, read:
👉 signs of bad coil springs
Tools Required for DIY Replacement
Before starting, gather all necessary tools:
- Jack and jack stands
- Socket wrench set
- Spring compressor (VERY IMPORTANT)
- Safety gloves and glasses
- Torque wrench
Using proper tools is essential when learning how to replace coil springs safely.
Safety First (VERY IMPORTANT)
Replacing coil springs can be dangerous because they are compressed under high pressure.
Safety tips:
- Always use a spring compressor
- Never remove springs without proper tools
- Work on a flat surface
- Use jack stands (never rely on jack alone)
For safety standards, refer to:
👉 https://www.nhtsa.gov/road-safety
Step-by-Step Guide – How to Replace Coil Springs
Follow these steps carefully:
Step 1: Lift the Vehicle
Use a jack to lift the vehicle and secure it with jack stands. Remove the wheel to access the suspension system.
Step 2: Remove Suspension Components
Detach components such as:
- Shock absorber
- Strut assembly
- Stabilizer links
This step is necessary before you proceed with how to replace coil springs.
Step 3: Compress the Coil Spring
Use a spring compressor to safely compress the spring. This is the most critical step.
Step 4: Remove the Old Spring
Carefully remove the compressed spring from the assembly.
Step 5: Install the New Coil Spring
Place the new spring into position and ensure it fits correctly.
For choosing the right replacement, check:
👉 best coil springs USA
Step 6: Reassemble the Suspension
Reinstall all components in reverse order:
- Strut
- Shock absorber
- Wheel
Step 7: Lower the Vehicle
Once everything is secure, lower the vehicle and test the suspension.
Front vs Rear Coil Spring Replacement
The process for how to replace coil springs is similar for both front and rear, but there are some differences.
Front springs:
- More complex
- Affect steering and alignment
Rear springs:
- Easier to replace
- Focus on load handling
For detailed guides, read:
👉 front coil springs USA
👉 rear coil springs replacement USA
DIY vs Professional Replacement
While learning how to replace coil springs can save money, it may not be suitable for everyone.
DIY Pros:
- Saves labor cost
- Good learning experience
DIY Cons:
- Risk of injury
- Requires tools and experience
If unsure, consider professional help.
Cost Savings with DIY
Replacing coil springs yourself can reduce the coil spring replacement cost USA significantly by eliminating labor charges.
Learn more here:
👉 coil spring replacement cost USA
Choosing the Right Brand
Using high-quality parts ensures better results.
Top brands include:
- Bilstein
- A-Premium
- Lesjöfors
For comparison, read:
👉 Bilstein vs A-Premium coil springs USA
Common Mistakes to Avoid
When learning how to replace coil springs, avoid these mistakes:
- Not using a spring compressor
- Replacing only one spring
- Incorrect installation
- Skipping alignment
Final Thoughts
Understanding how to replace coil springs at home can help you save money and maintain your vehicle effectively. However, safety should always be your top priority.
If you are confident and have the right tools, DIY replacement is a great option. Otherwise, professional installation ensures safety and proper performance.
